|
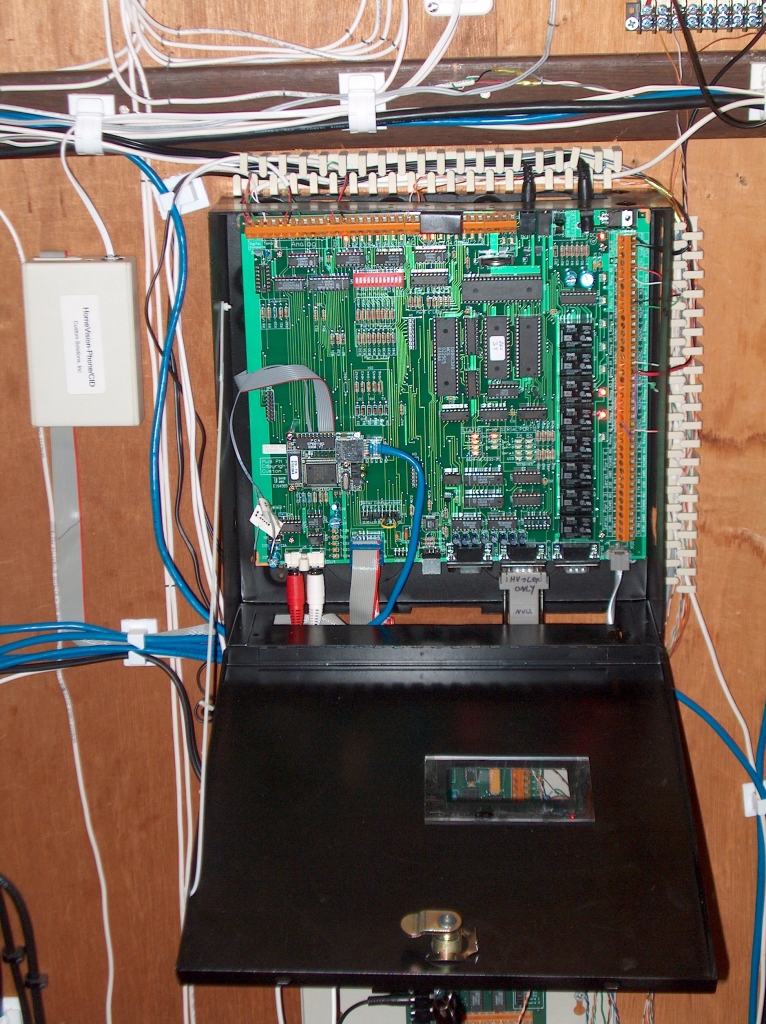
CSI has done a great job improving on their HomeVision Home Automation
Controller. To start, some functions that used to require an expansion
board now work right out of the box with HV-Pro [analog inputs and being
able to interface to the Dallas digital temp sensors, I think are the
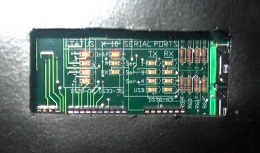
biggest]. It also adds onboard SPDT relays, an IR input jack, two serial
ports [in addition to the main port used to connect HV-Pro to a computer],
switches to disable the pull-up resistors on Port B, and tons of status
LEDs. If you love blinking LEDs as much as I do you'll be very happy.
Even better is the enhanced possibility for expansion, with board space
and [currently] empty headers for future add-ons. [There's much more that
I haven't mentioned here. See
CSI's HV-Pro page
 for
more details.] for
more details.]
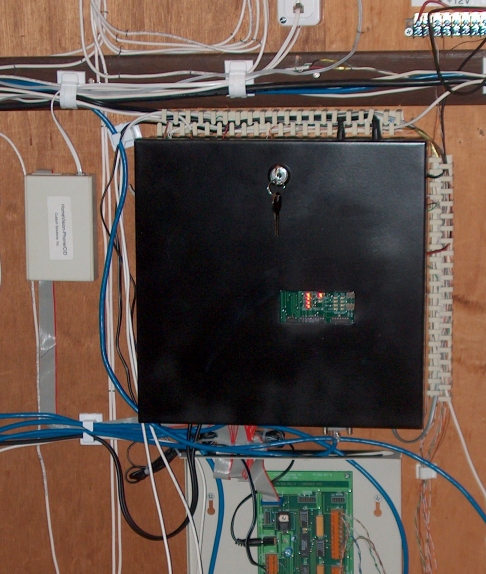
For reasons that I'll go into in the next section I decided to rework
an extra case I had for use with the HV-Pro [owners of a Caddx NX-8 may
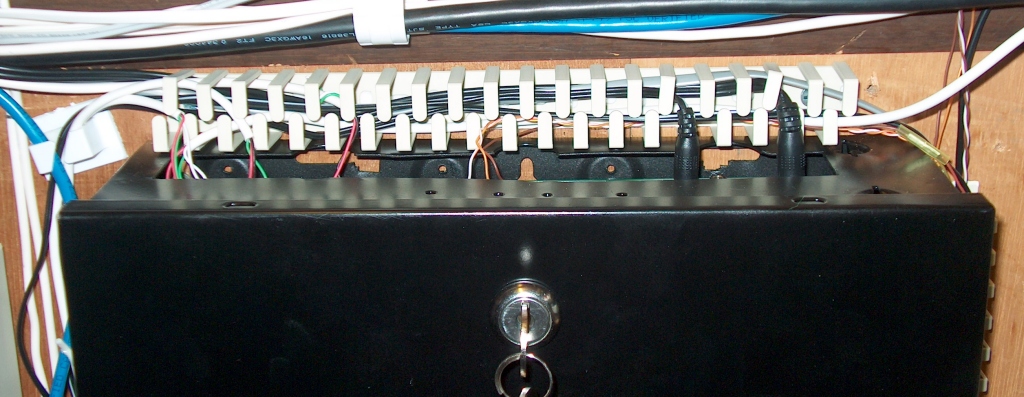
recognize it]. For cable management around the enclosure I used a flexible
slotted conduit from Panduit [there's a close-up of it below].
Some tips...
Well, you know what they say about the value of free advice [even more
so with free advise you get over the Internet], but here's some things
that I ran into when setting up HV-Pro:
- It's very easy to connect a wire to the wrong connection point
on one of the terminal blocks. If your line of site is not 90° to the
board the parallax error makes it difficult to line up the legends with
their corresponding connection points. I usually disconnect the power to
HV [this is not strictly necessary] when making new connections, and then
double check them. This was less of a problem on the old HV and the MFEB
because the terminal blocks were separated and only had 10 connection
points each. It was fairly easy to count out which connection point you
wanted.
- I found it was helpful to disable the pull-up resistors for all of
the unused Port B inputs. This keeps the status light for the unconnected
inputs off, and makes it easier to read the status of the connected
inputs.
- Not strictly HV-Pro related but...put together a kit of replacement
chips so that when you get burned by a little bit of lightning or ESD you
won't be down for long. There's a list
on CSI's website of
chips you may want to have on hand. It's already saved me twice -- my
iButton setup is particularly prone to passing on ESD to HV.
|