|
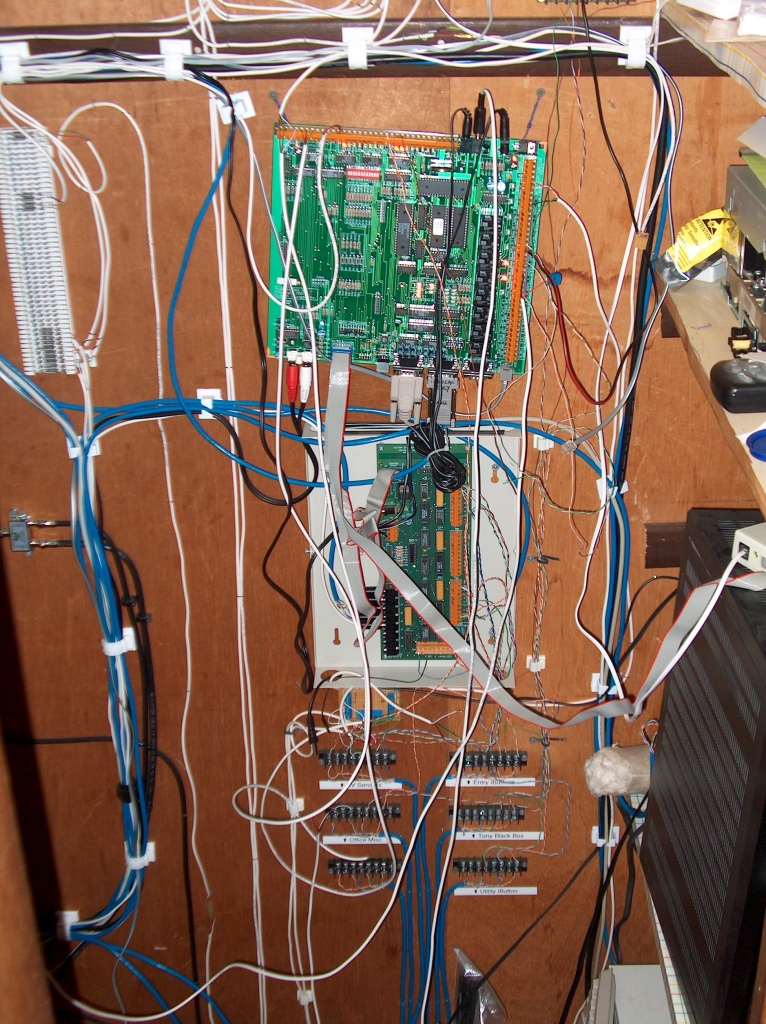
So, when I got the HV-Pro board the enclosures weren't ready. I wanted the
unit in approximately the same place that the old HV was so that I
wouldn't have to re-route wires. I mounted some standoffs to the board and
attached some wire to the two on the top of the board. The wire was then
looped and screwed to the wall. Quick and easy, but hardly neat; and
definitely left something to be desired in the wire management department.
When I moved into this house I decided to mount my HV
in a larger enclosure than the one it came in. HV-Pro was originally
going to come with an enclosure that was almost exactly the same size as
the one I had the old HV mounted in. But some ideas were thrown around the
e-mail list, and the enclosure was redesigned to be bigger. I could have
made this work, but it would have required some major reworking of my
closet, and I realized that I liked the bottom hinge of my current
enclosure. So the solution was to modify it for HV-Pro.
The modification was based on the original picture of HV-Pro
in its enclosure on CSI’s website. First I marked off the position of
the new slots with a Sharpie. I was a little worried that removing so much
material was going to affect the integrity of the enclosure. It turns out
that it did, but once the thing is screwed to the wall everything is fine.
With the slots marked out I decided I wanted to add a little window to the
door so I could see the status LEDs. I had considered cutting two more
slots out of the door so I could see the I/O lights as well. But decided
that would mean removing a little too much material.
After it was marked I took my jig saw to it and began
to make the loudest cuts I have ever made in my life. Even through the ear
protection I was glad I didn’t have to cut any more than I did. Cutting
the 90° corners was a little tough. But with multiple jig saw cuts and a
nibbler I was able to do a pretty decent job. Just a quick pass with the
Dremel to grind down the sharp edge and I was ready to paint.
I chose black for no reason other than I already had
it. And the recently discarded table saw box made for a quick spray booth.
Once the paint dried, all that was left was to mount the standoffs [all
four lined up correctly on the first try – I was shocked], and glue a
little piece of Plexiglas for the window. Remount the lock, and I’m
done.

|

HV-Pro and MFEB before enclosure.
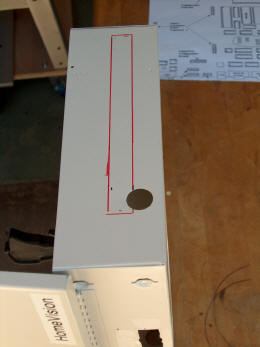
Laying out wire slots.
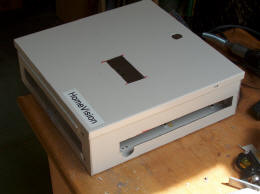
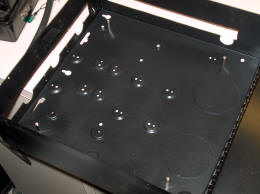
All slots cut. The window on the front is for the
status LEDs.
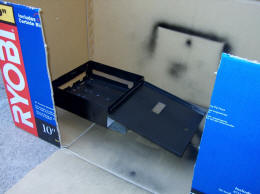
Painting. Good thing I just bought a new table saw.
Mounting the standoffs. |